General lecture spaces (GLS) are larger, tiered floor spaces designed for large group classes, equipped with projectors and individual seating.
To operate the Audio and Visual Equipment in the General Lecture Spaces:
Turn on the projector using the remote control.
Turn on the Lectern computer if it's switched off.
Select Channel 1 as the desired input. The feed from the lectern computer is now routed to the projector.
There are three types of microphones used in the general lecture spaces:
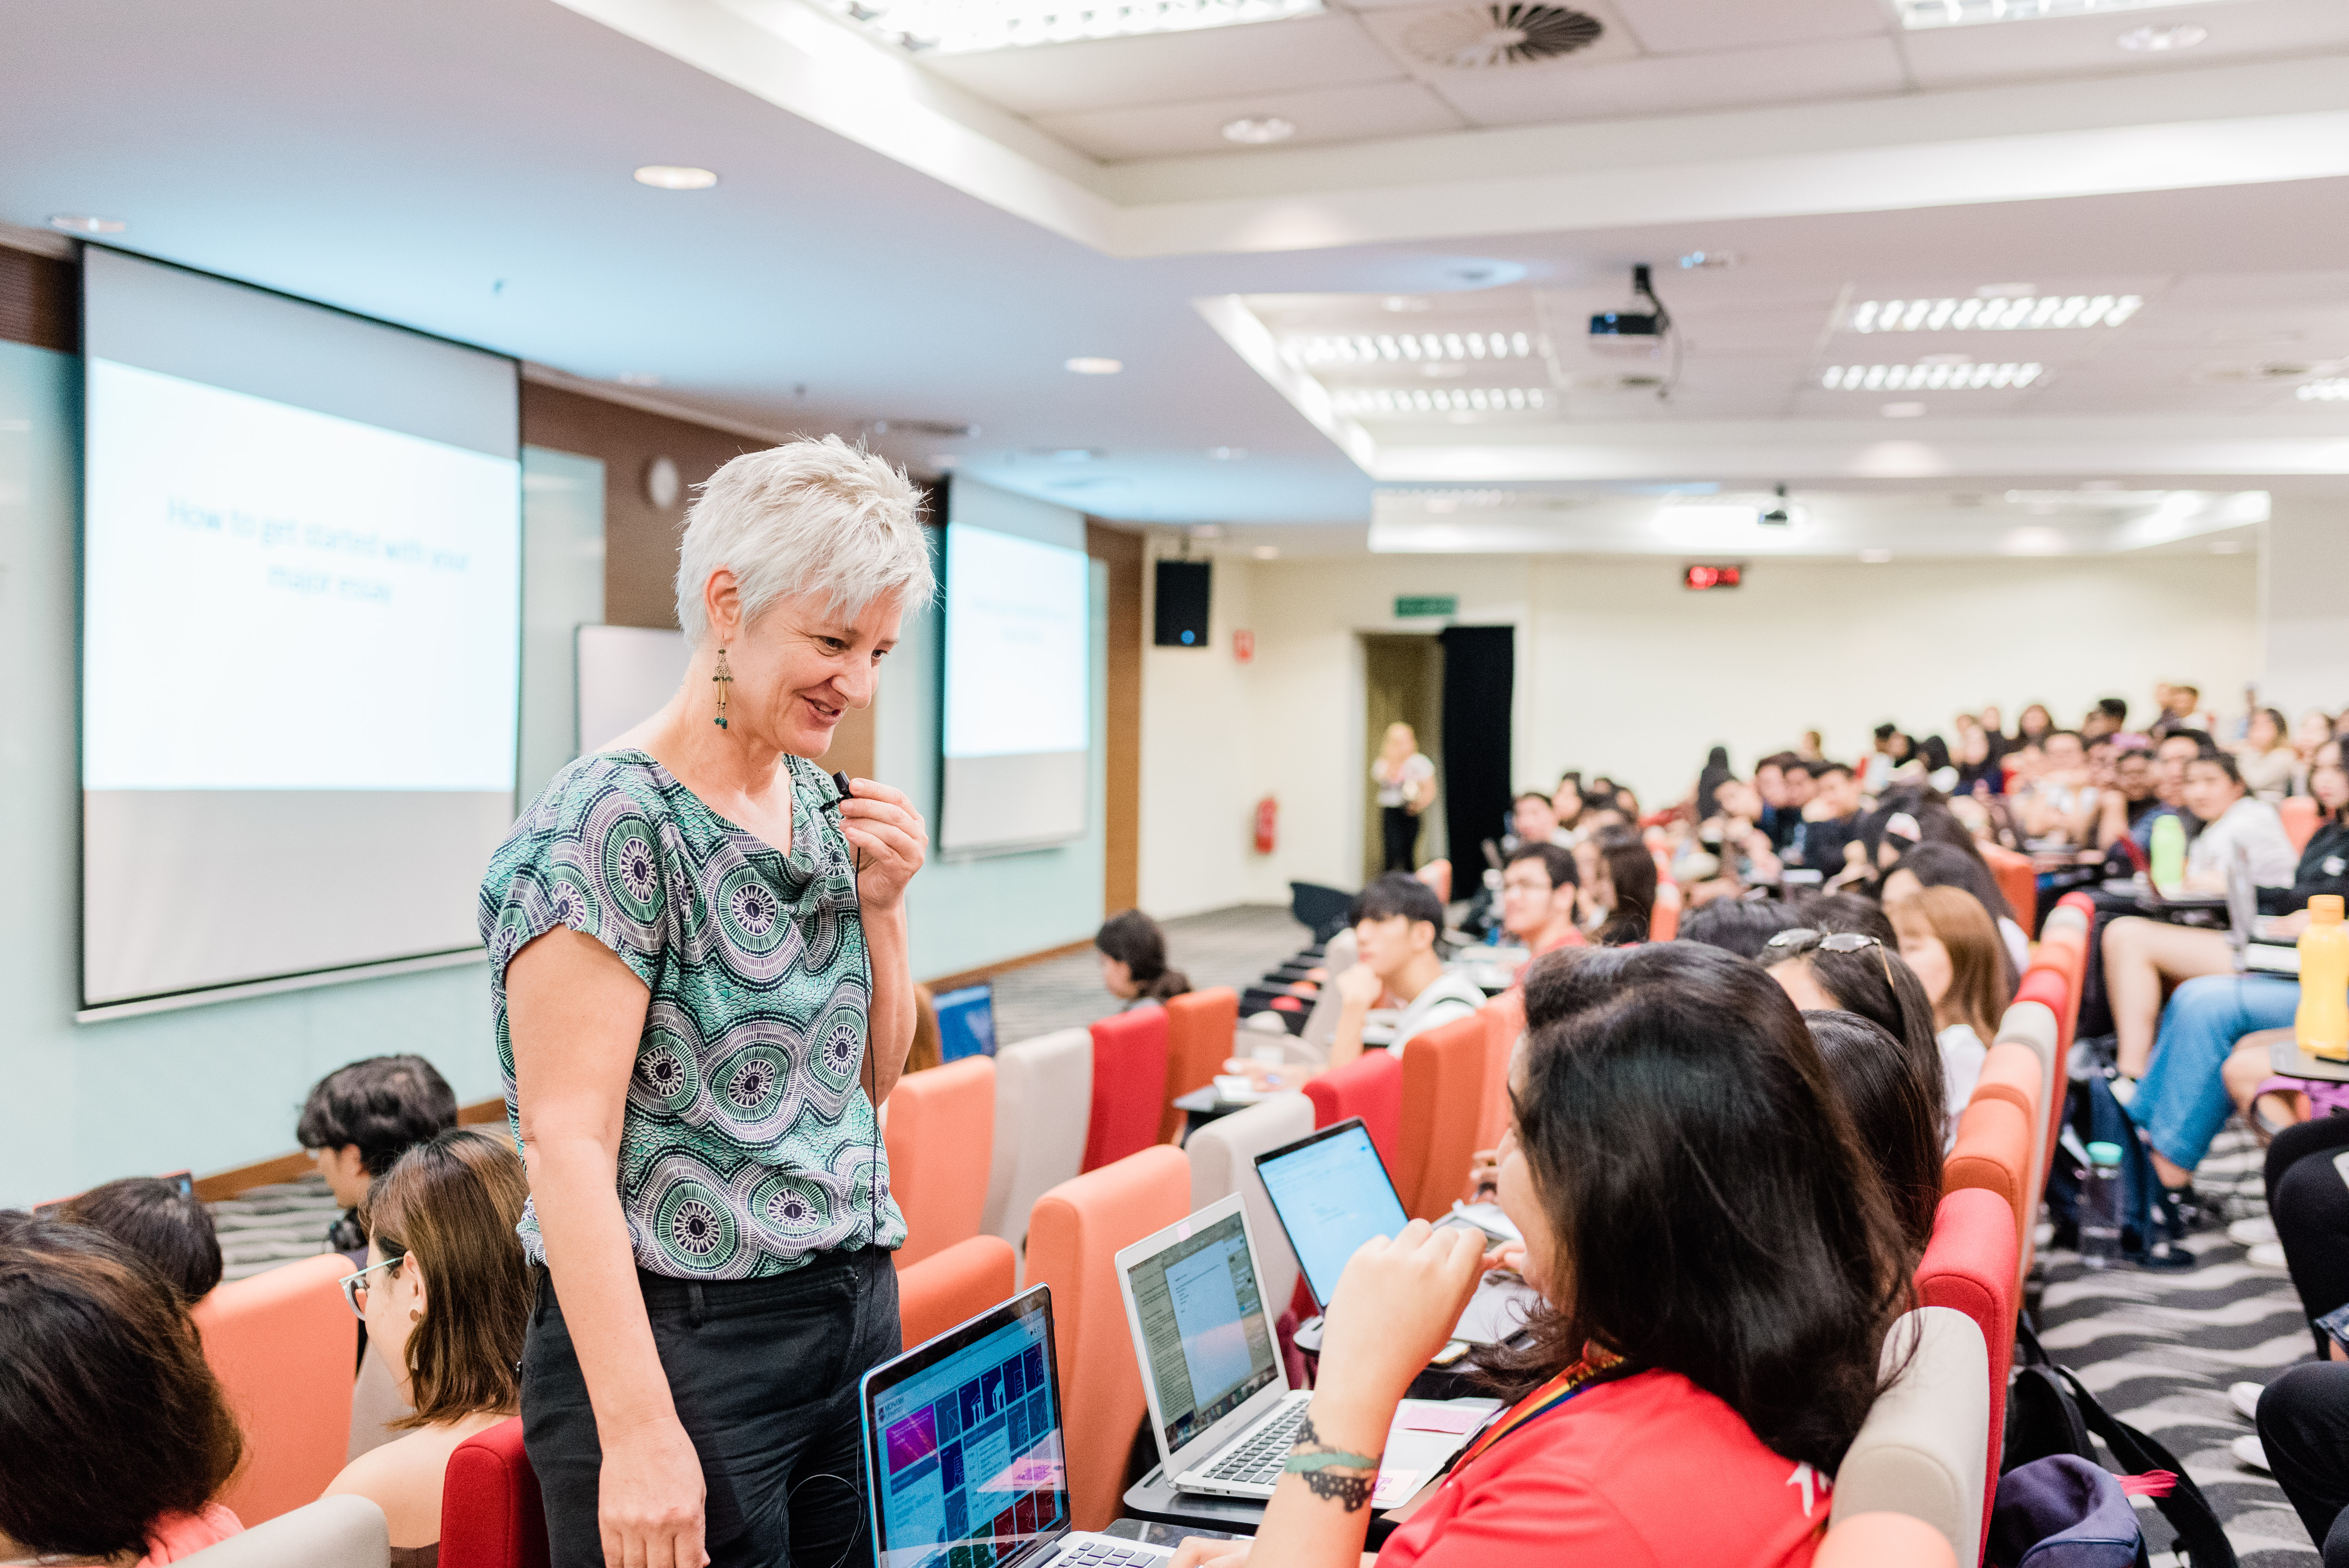
Lectern Microphone
Handheld Microphone
Clip On Microphone
(Lectern Microphone ONLY) To turn on the microphone, ensure that the green indicator is lit when using the device. Press the mute button to mute the microphone. The green indicator now turns off.
Lecture Theaters and Audi 2 are also equipped with the following alternate sharing options which will be detailed in this section.
Document Camera
BYOD (Bring Your Own Device)
Document Camera
Turn on the document camera in the:
Lecture Theatre:
The LED indicator will change from orange to green. After a few moments, the document camera will illuminate.
Seminar Room:
The LED indicator will change from red to blue. After a few moments, the document camera will illuminate.
Select Channel 3 as the desired input. The feed from the document camera is now routed to the projector.
BYOD (Bring Your Own Device)
Identify the VGA display cable and the 3.5mm audio jack.
Connect the VGA display cable to the VGA port of your computer.
If your device doesn't have a VGA port, ensure that the appropriate VGA adapter for your device is available. Most devices are equipped with either a HDMI or a Type C port.
If your device is equipped with a HDMI port, a VGA to HDMI adapter will be required. Connect the VGA display cable to the HDMI adapter securely.
Connect the adapter to your device.
Select Channel 2 as the desired input. The feed from your device is now routed to the projector.
Click the keys on your device to open the windows projection menu. Then select from the four options presented to you.